Emergency Roof Repair: Your Storm Damage Checklist
Secure your home, document the damage, and start the claims process right.
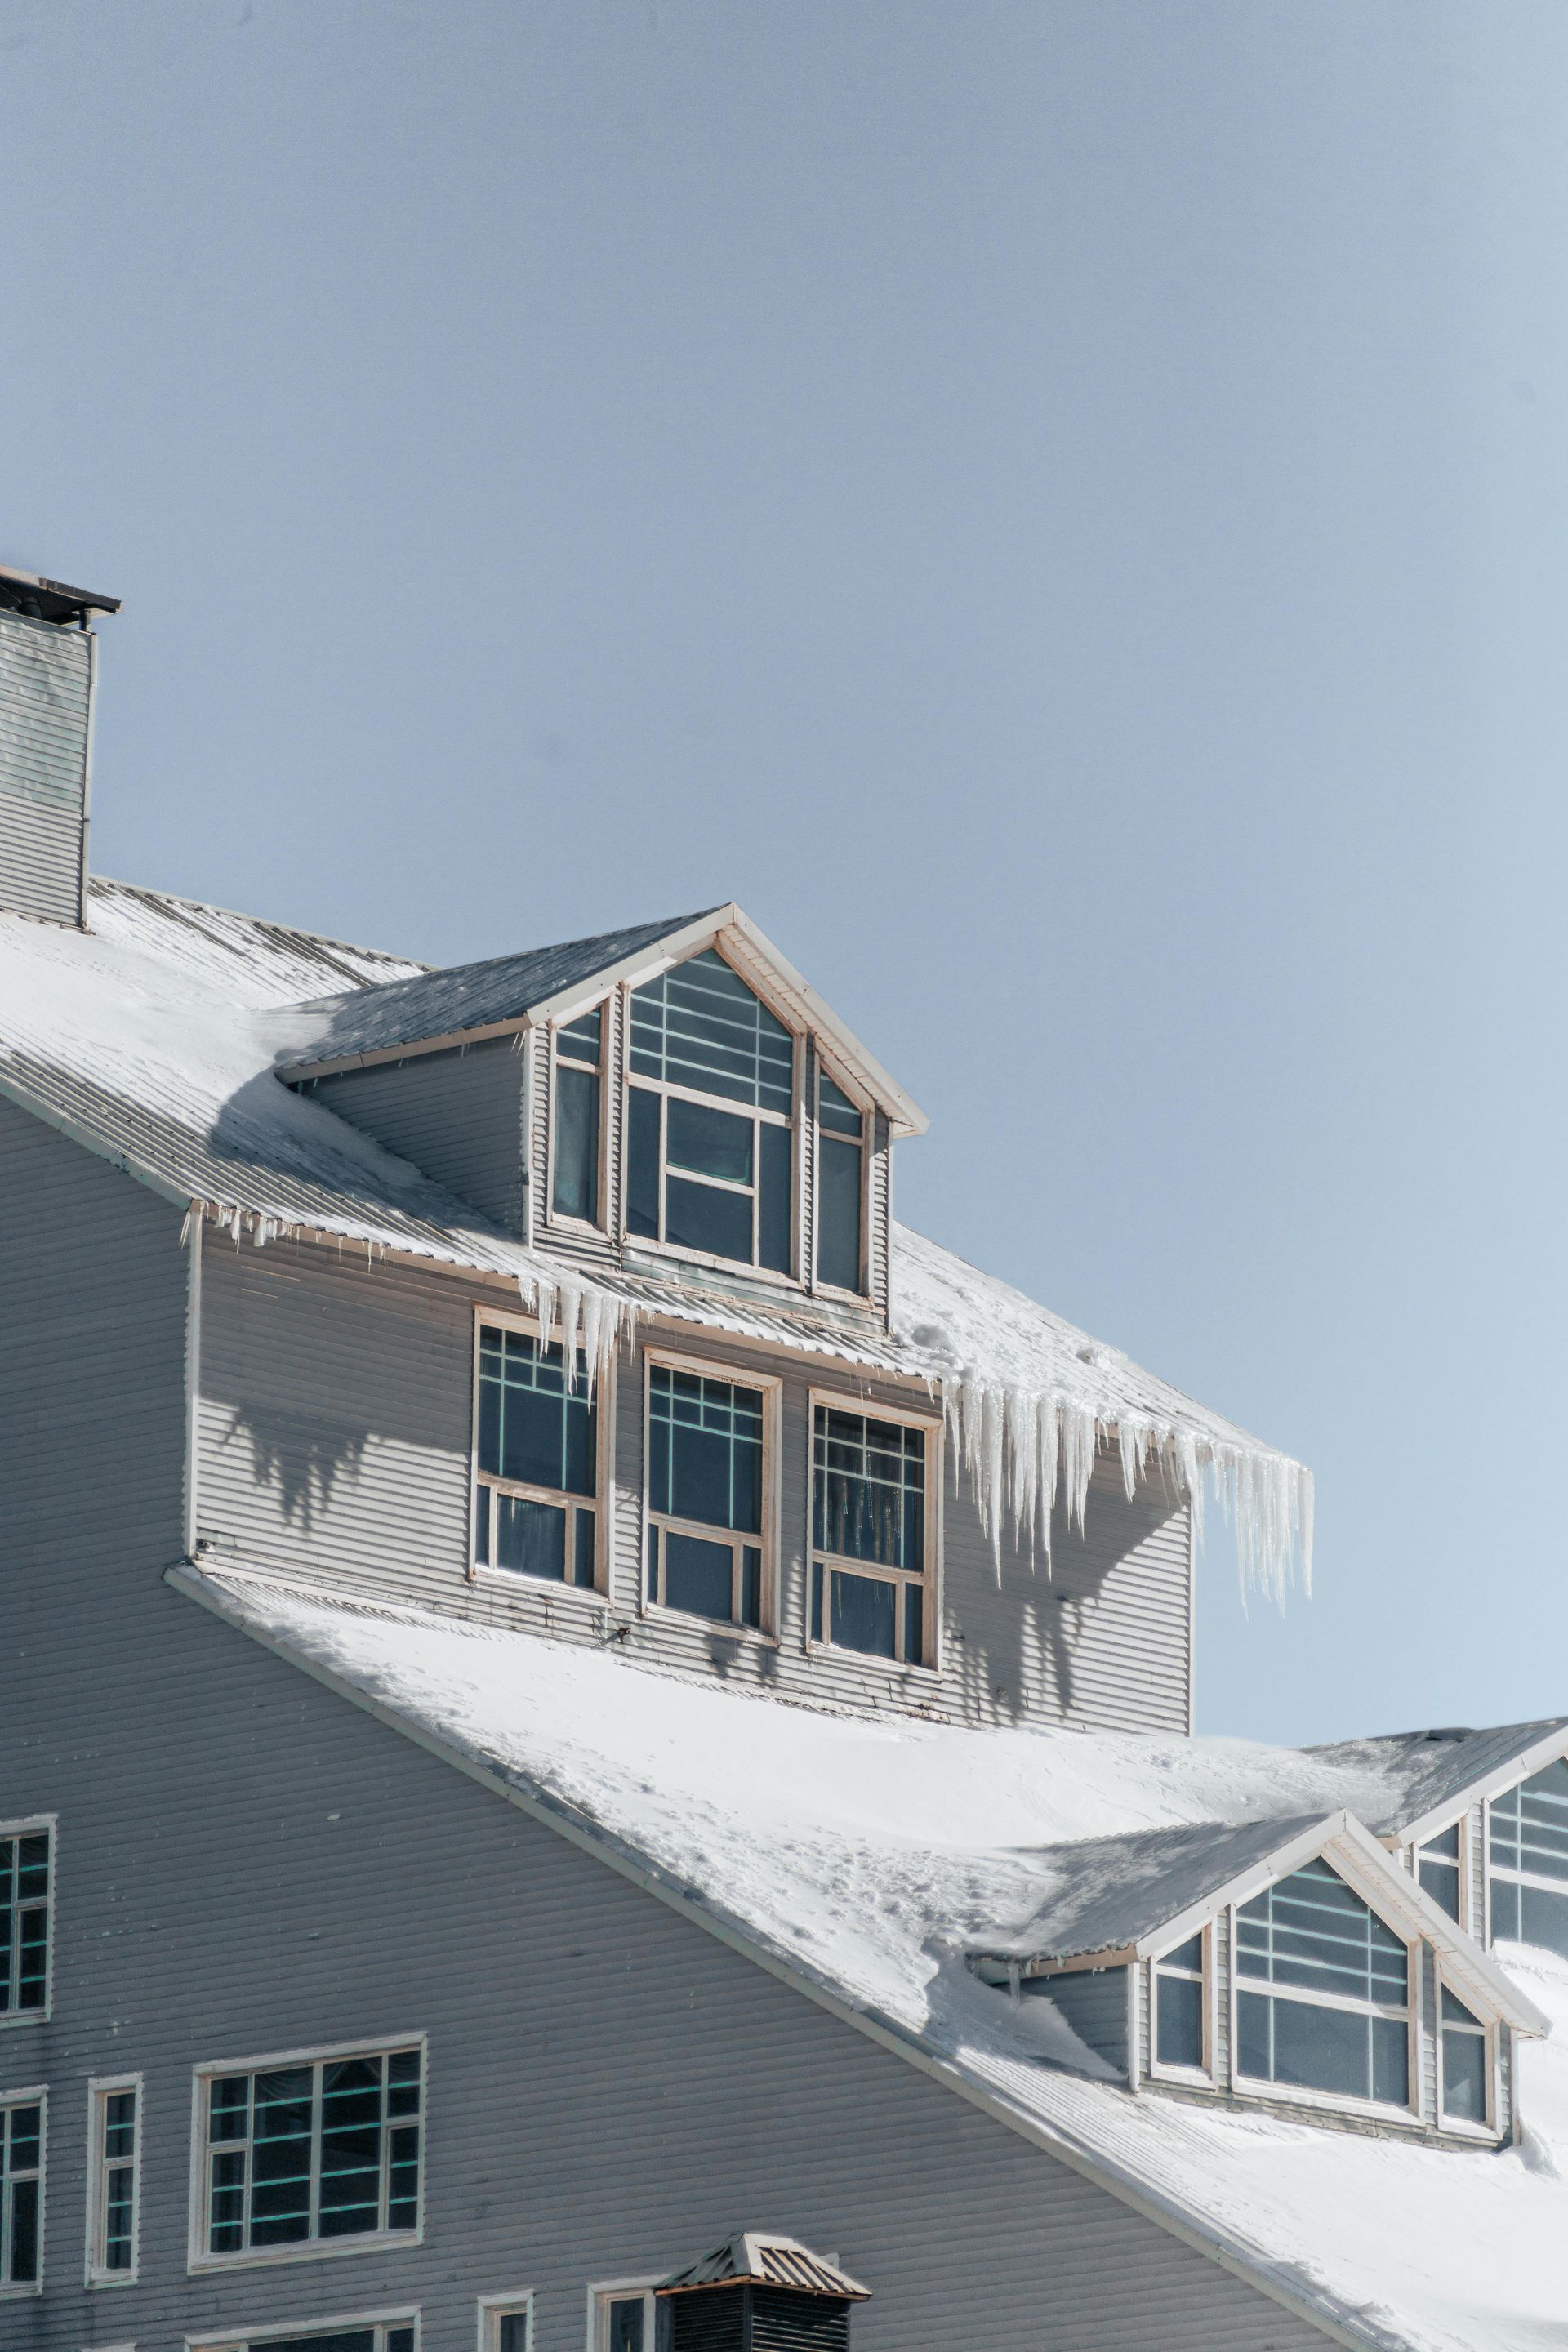
A sudden hailstorm rattles your windows. Heavy rain starts leaking into your attic. You notice a damp spot on the ceiling after last night's high winds. Storm damage to your roof is a stressful reality for homeowners across Chicagoland, from Berwyn and Oak Park to our own Cicero community.
Taking the right steps right after a storm can help protect your home, make repairs easier, and help you get a fair insurance settlement. This emergency roof checklist will walk you through what to do, step by step.
Step 1: Prioritize Safety (Before Anything Else)
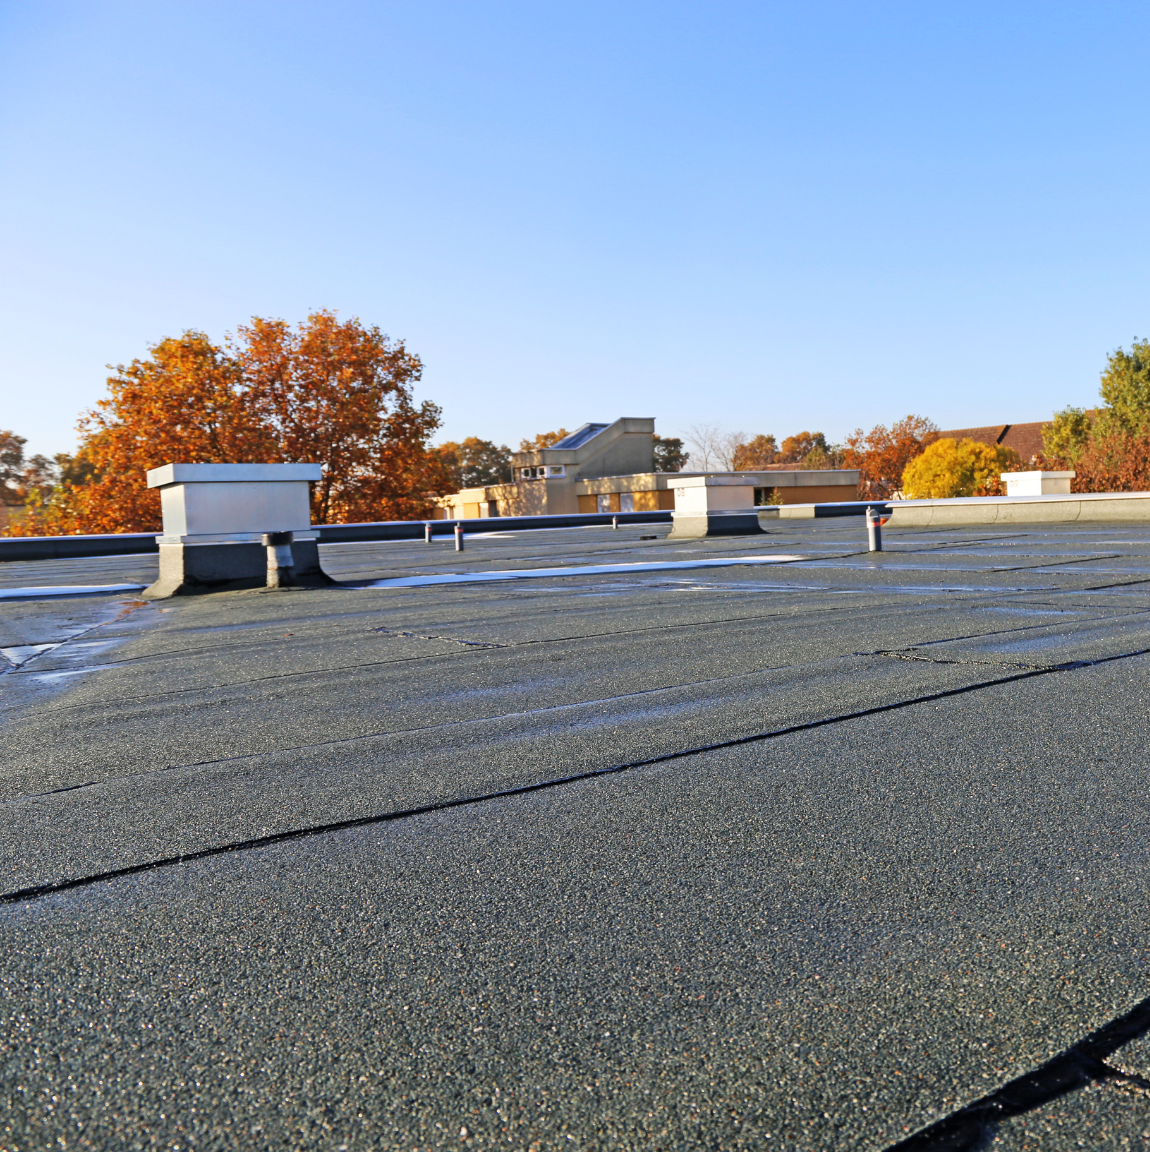
Your safety and your family’s safety come first. Do not go onto your roof after a storm. The surface is likely slippery, structural integrity may be compromised, and hidden hazards like downed power lines could be present.
If water is coming in, move furniture and belongings out of the way. Use buckets or containers to catch the water. If the leak is close to an electrical fixture, turn off the power to that circuit at the breaker box.
- If you notice major sagging, a large tree on the roof, or exposed beams, leave the area underneath right away and call for professional help.
Step 2: Document the Damage Thoroughly
Thorough documentation is your best tool when dealing with your insurance company and your roofing contractor. Start this as soon as it’s safe.
- Take ground-level photos and videos. Walk around your property with your phone and get pictures of the roof from different angles. Zoom in on any damage, like missing shingles, dented gutters, or piles of granules in the downspouts.
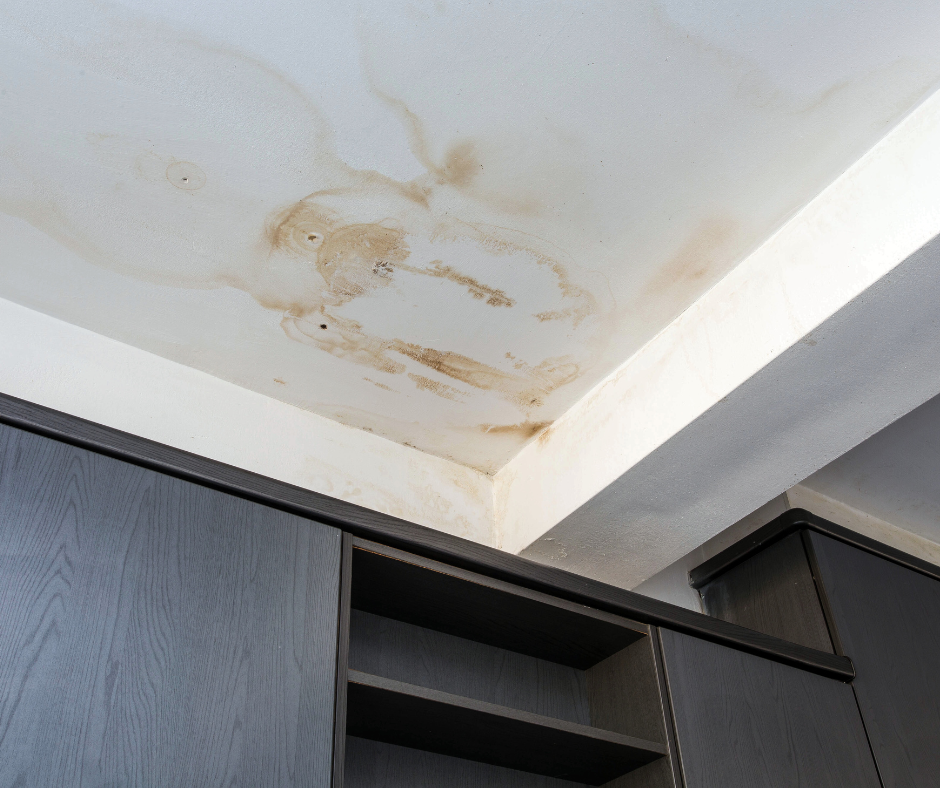
- Photograph the Interior: Don’t forget to document any interior signs of roof damage. Take clear pictures of water stains on ceilings or walls, dripping water, and any personal items that have been damaged.
- Note the Date & Time: The timestamp on your photos is helpful, but also write down the date of the storm and when you first noticed the problem.
Step 3: Make Temporary Mitigations (If Possible)
The goal is to keep things from getting worse until you can get permanent repairs. These are only temporary solutions.
- For Active Leaks: From inside your attic (if it's safe and accessible), you can sometimes place a bucket under the leak and use a tarp or plastic sheeting to channel water. Never poke at the stained ceiling from below, as this can make the leek worse.
- Temporary Tarping: For significant storm damage with exposed decking, a professional
emergency roof repair service should be called to install a waterproof tarp. Proper tarping is a skilled job that requires securing the tarp over the roof ridge to prevent wind from getting underneath it. Improper tarping can cause more damage.
Step 4: Contact Your Insurance Company
Filing a storm damage roof claim is your next critical step.
- Call your agent or claims line: Report the damage. They will open a claim file and provide you with a claim number.
- Provide your documentation: Be prepared to send the photos and videos you took. Give a clear, factual description of the damage.
- Ask about the next steps: Most insurers will send an adjuster to inspect the damage. Ask about their timeline and what they need from you. You have the right to have your own contractor present during the adjuster's inspection.
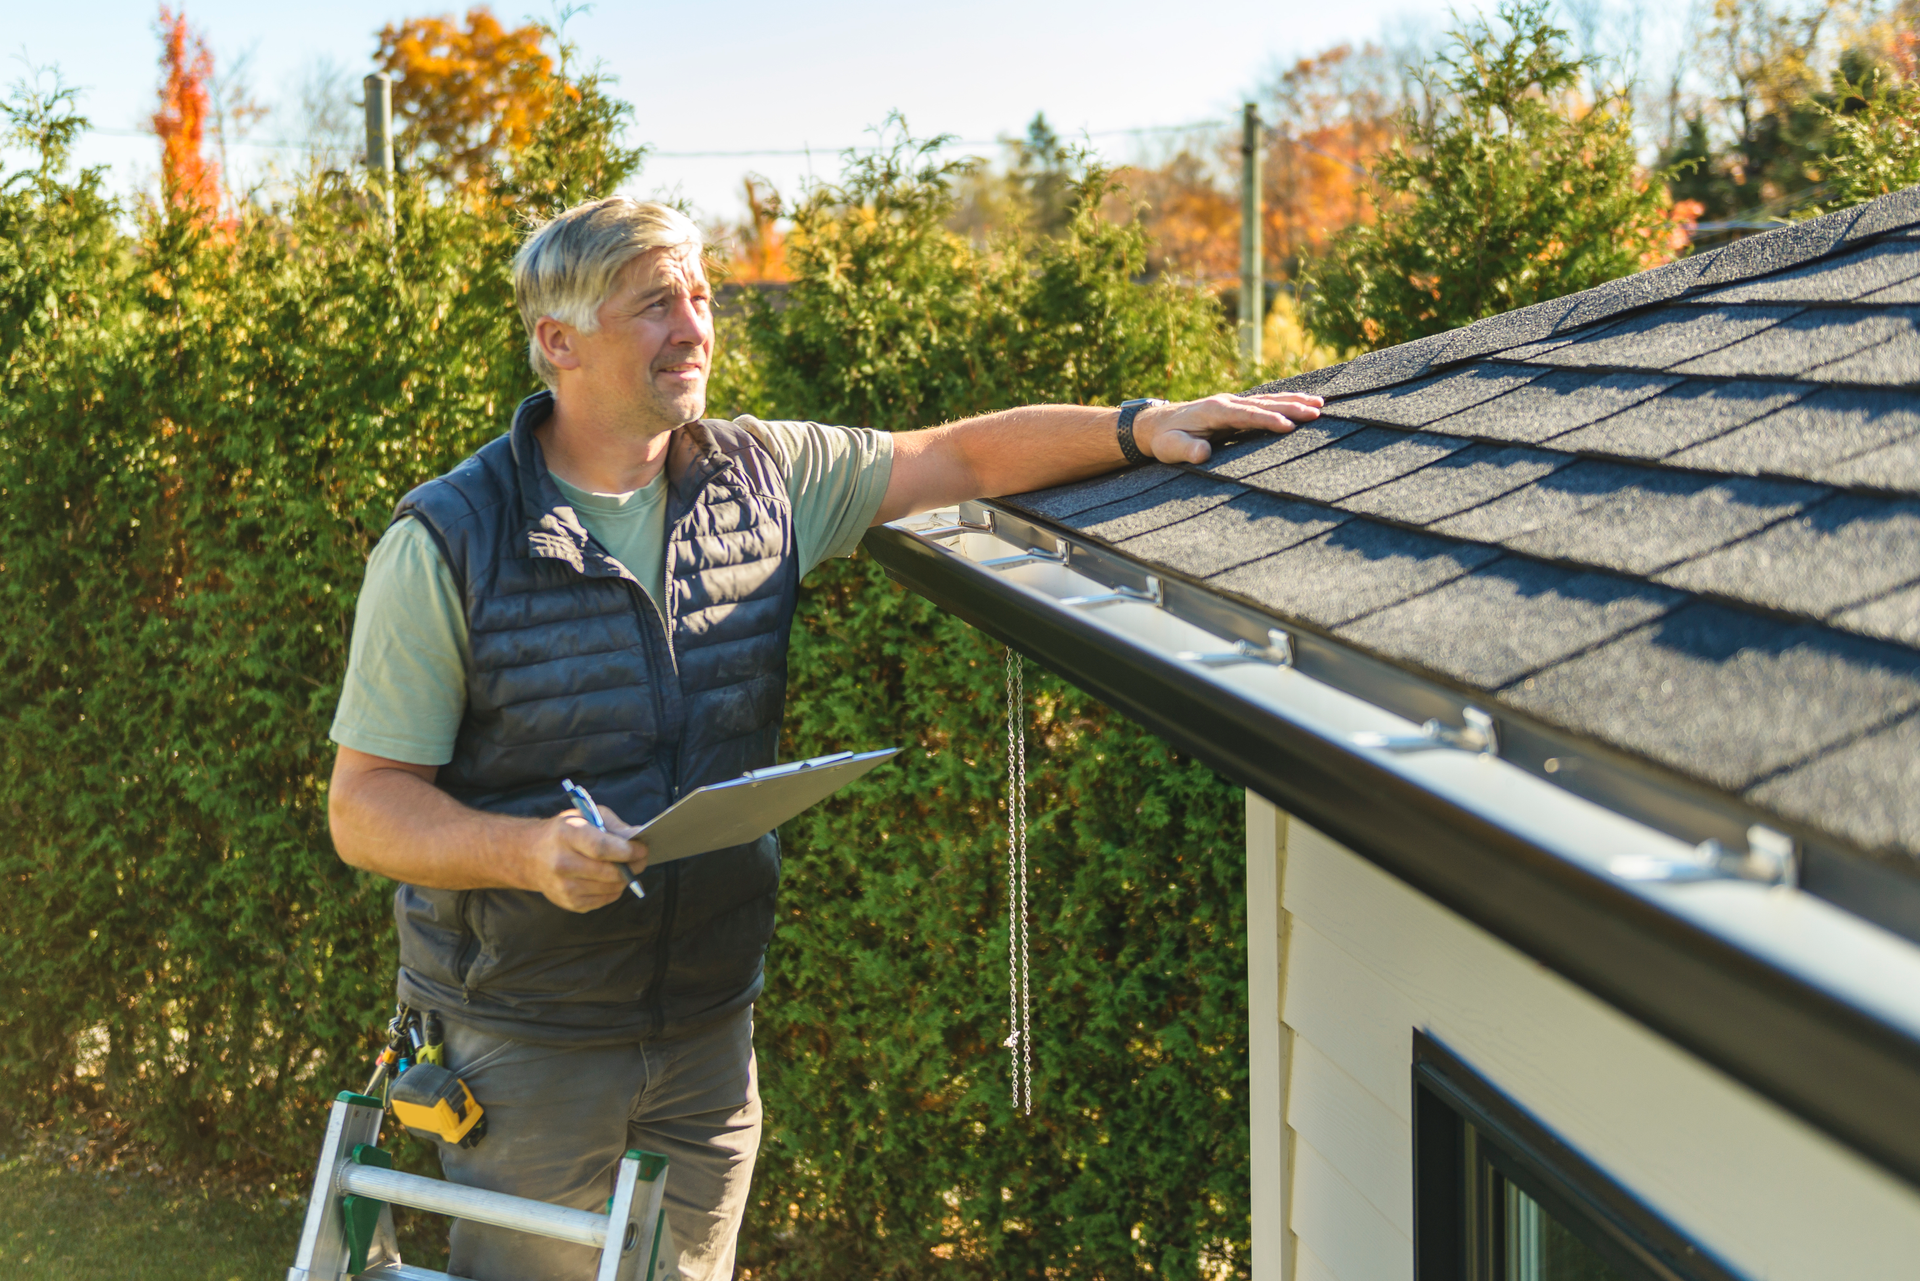
Step 5: Choose a Reputable Local Roofing Contractor
Choosing the right contractor is very important for your home’s long-term health. Don’t let the first person who knocks on your door after a storm pressure you into signing anything.
- Get Local, Licensed & Insured References: Choose a roofer with a permanent address in the Chicago area. Verify they are licensed in Cicero or your specific municipality and carry both liability and workers' compensation insurance.
- Schedule a Professional Inspection: A reputable company will offer a free, detailed inspection. They should provide a written report with photos, explaining the extent of the hail damage or wind damage, and whether repair or full replacement is needed.
- Review the Estimate in Detail: The estimate should be line-itemed, specifying materials (shingle type, underlayment), scope of work (tear-off, disposal, flashing details), and warranty information. Your roofer should be willing to review this estimate with the insurance adjuster's report to ensure everything is covered.
Step 6: Understand the Repair Process
Once you’ve chosen your contractor and insurance is settled, here’s what to expect:
- Scheduling: In a widespread storm event, quality roofers will be in high demand. Be prepared for a short wait.
- The Work: A professional crew will handle everything from the tear-off of old materials to the final cleanup. They should protect your property, use a magnet to collect nails, and leave your yard clean.
- Final Inspection & Paperwork: Once complete, you should do a walk-through with the project manager. Ensure you receive all warranty documents, proof of final payment to the contractor (for your insurer), and a letter of completion.
Acting quickly and following a plan after roof damage is important. This checklist can help you turn a stressful situation into something you can handle. If you think your home in Cicero, Berwyn, Oak Lawn, or anywhere in the Chicago area has storm damage, getting a professional inspection is the best way to start fixing the problem.
Ready to work with OverWatch Roofing Cicero?
Let's connect! We’re here to help.
Or give us a call today at 708-729-5911